3D Pixel Art
posté le 05.10.2014, mis à jour le 16.10.2023

Creative Commons Licence
3D Pixel Art by Bernard Perbal is licensed under a Creative Commons Attribution-ShareAlike 4.0 International License.

Moog Mother-32Two Moog Mother-32Three Moog Mother-32

TB-303 and MXR Distortion+Akai MPC60Roland MKS-7

MacBeth Micromac-DTeenage Engineering Pocket Operator PO-12 RhythmRoland TR-77

Roland TR-77VRoland TR-33Roland TR-55

Roland TR-330Roland TR-700Roland TR-66

Roland TR-808Roland TR-606Roland TR-909

Roland TR-707Roland TR-727Roland TR-505

Roland TR-626Roland TR-8Roland TR-09

Roland TR-08Roland TR-8SRoland TR-6S

Roland TR-06

Quelques équipements de mon home studio réalisés en pixel art isométrique : Moog Mother-32 avec support 2 niveaux et 3 niveaux, Roland TB-303 and MXR Distortion+, Akai MPC60, Roland MKS-7, MacBeth Micromac-D, Teenage Engineering Pocket Operator TO-12 Rhythm, Roland TR-77, Roland TR-77V, Roland TR-33, Roland TR-55, Roland TR-330, Roland TR-700, Roland TR-66, Roland TR-808, Roland TR-606, Roland TR-909, Roland TR-707, Roland TR-727, Roland TR-505, Roland TR-626, Roland TR-8, Roland TR-09, Roland TR-08, Roland TR-8S, Roland TR-6S, Roland TR-06.

3D Pixel Art Guide
posted on 10 May 2026, updated on 12 May 2026

Creative Commons Licence
3D Pixel Art Guide by Bernard Perbal is licensed under a Creative Commons Attribution-ShareAlike 4.0 International License.

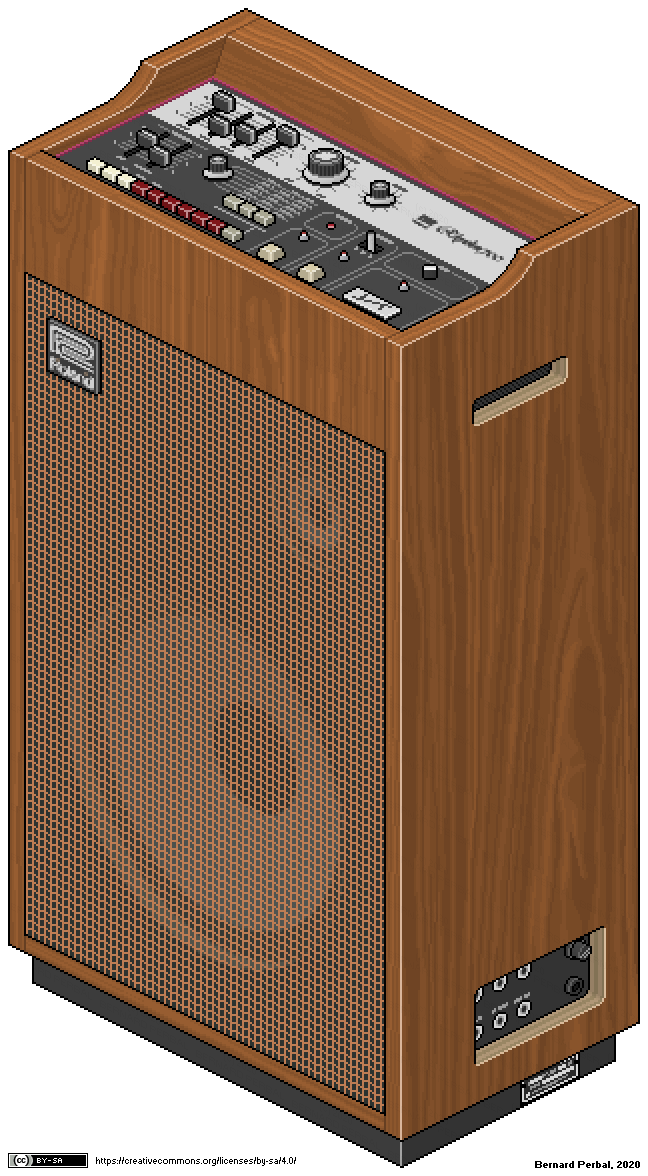
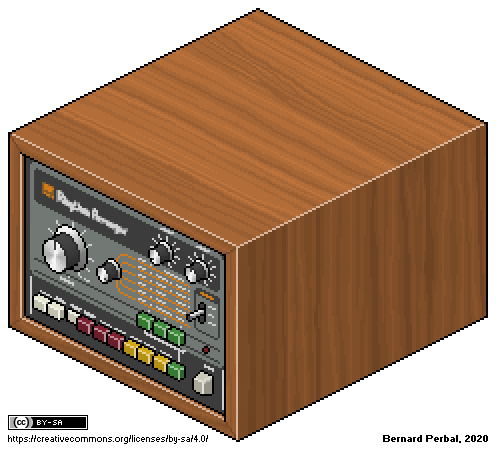
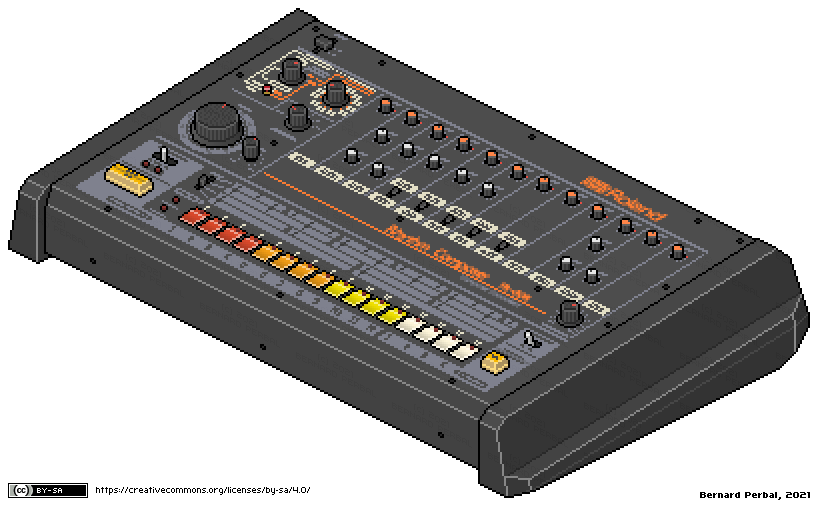
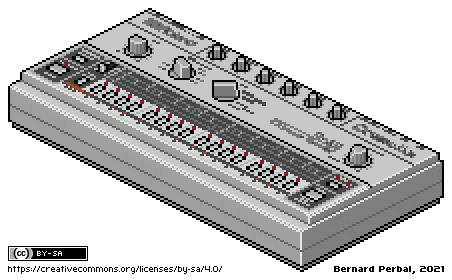
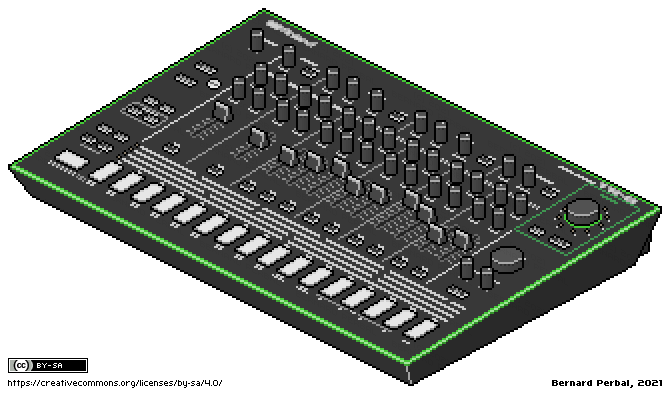
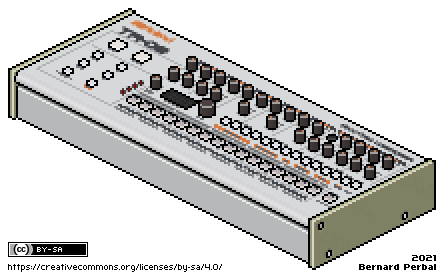
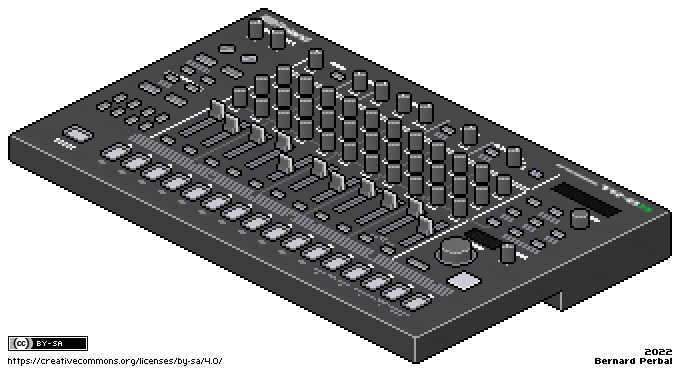
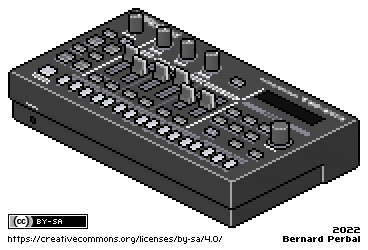
This page presents some technical details and explanations related to my approach to creating isometric 3D pixel art, particularly the dimensions of a basic cube, inclined planes, ellipses, and colors.

In isometric pixel art, lines are typically drawn using a stair-step pattern, where each step consists of 2 horizontal pixels for every 1 vertical pixel. This convention creates a clean, regular, and visually pleasing appearance. For example, a line spanning 10 horizontal pixels will have a vertical offset of 5 pixels.

Example: below is a vertical wall built from a 12-pixel square.

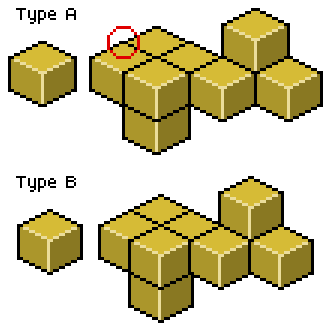
There are two types of representation for a simple object in 3D pixel art: Type A and Type B. Here is an example using a simple cube. Notice the central vertical line separating the left and right sides.

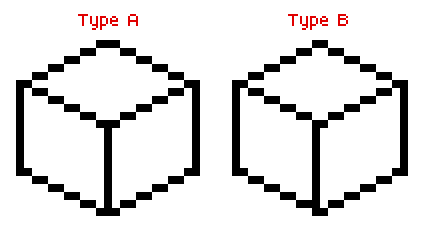
In general, Type B is preferred, as Type A can cause alignment issues on a grid due to the objects' odd-numbered width.

To draw a visually perfect cube, you can easily determine its height from the edge length of the square in 2D. Let's take an edge length of 2 units as an example.

Consider the following diagram. In red: 2 horizontal units for 1 vertical unit. In green: x, the edge length in isometric projection. And in black: the cube's top face viewed from above, where h represents both the edge length and the height of the cube:

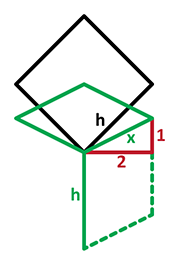
The first step is to calculate the projected edge length x in Pixel Art-style isometric projection, where the ratio is 2 horizontal pixels for every 1 vertical pixel.
This projected length is therefore:

In a top-down flat view, this length corresponds to the edge of a square rotated by 45 degrees, whose diagonal matches the cube's isometric height h. That height is:

As a result, the ratio between the isometric height h and the projected edge length x is:

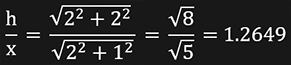
So, the ideal isometric cube height is approximately 1.2649 times the projected edge length.

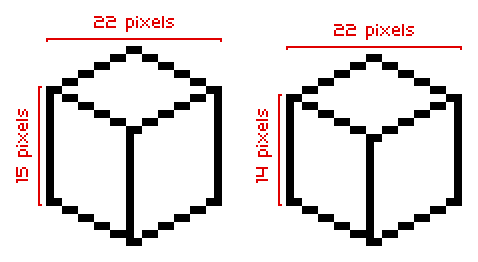
Here is an example of a cube whose edge has a horizontal component of 12 pixels. The vertical component is therefore 6 pixels. The height calculation gives: 12 * 1.2649 = 15.1788 which is rounded to 15 pixels.

However, there is an important detail to keep in mind: in a 12-pixel cube, the left side overlaps the right side by 2 pixels. As a result, the total horizontal width of the cube is 22 pixels instead of 24.

To achieve a more visually accurate cubic appearance, the height should therefore be adjusted using: 22 * 1.2649 / 2 = 13.9139 rounded to 14 pixels.

Minecraft - Blocs en Pixel Art
posté le 03.11.19, mis à jour le 09.12.19

Blocs Minecraft pour réaliser vos plans en 3D Pixel Art. Le petit point vert est le point de référence pour le placement sur la grille d'alignement.

Les nouveaux blocs modélisés sous Cinema 4D :

StoneStone Slab 1Stone Slab 2Stone BricksChest 0Chest 1Chest 2Chest 3

HopperHopper 0Hopper 1Hopper 2Hopper 3

Redstone TorchRedstone Torch 0Redstone Torch 1Redstone Torch 2Redstone Torch 3

Oak Button 0Oak Button 1Oak Button 2Oak Button 3

Repeater 1 0Repeater 2 0Repeater 3 0Repeater 4 0Repeater 1 1Repeater 2 1Repeater 3 1Repeater 4 1

Repeater 1 2Repeater 2 2Repeater 3 2Repeater 4 2Repeater 1 3Repeater 2 3Repeater 3 3Repeater 4 3

Comparator Off 0Comparator On 0Comparator Off 1Comparator On 1Comparator Off 2Comparator On 2Comparator Off 3Comparator On 3

Stick Piston 0Stick Piston 1Stick Piston 2Stick Piston 3Stick Piston UpStick Piston Down

Les 16 variantes de clôture en chêne :

Oak Fence 0000Oak Fence 0101Oak Fence 1010Oak Fence 1111Oak Fence 0001Oak Fence 0010Oak Fence 0100Oak Fence 1000

Oak Fence 0011Oak Fence 0110Oak Fence 1100Oak Fence 1001Oak Fence 0111Oak Fence 1110Oak Fence 1101Oak Fence 1011

Les 12 variantes de câble Redstone :

Redstone Wire 0000Redstone Wire 1111Redstone Wire 0011Redstone Wire 0110Redstone Wire 1100Redstone Wire 1001

Redstone Wire 0101Redstone Wire 1010Redstone Wire 0111Redstone Wire 1110Redstone Wire 1101Redstone Wire 1011

Divers blocs :

Mossy CobblestoneSoul SandGlass WhiteSpawnerWater

My QR
posté le 29.01.12, mis à jour le 24.08.23

My QR

Cinema 4D - Images 2
posté le 08.02.08

Cinema 4D RenderCinema 4D RenderCinema 4D Render

Quelques images abstraites réalisées avec CINEMA 4D. Cliquez pour visualiser une version grand format 1920 x 1200.

Cinema 4D - Images 1
posté le 07.02.08

Cinema 4D RenderCinema 4D RenderCinema 4D Render

Mes premières expérimentations 3D avec le logiciel CINEMA 4D en 2005. Cliquez sur les images pour visualiser une version grand format 1920 x 1200.

© 2008-2026 perbal.net